GoPro HD 1080P Lens Change Instructions:
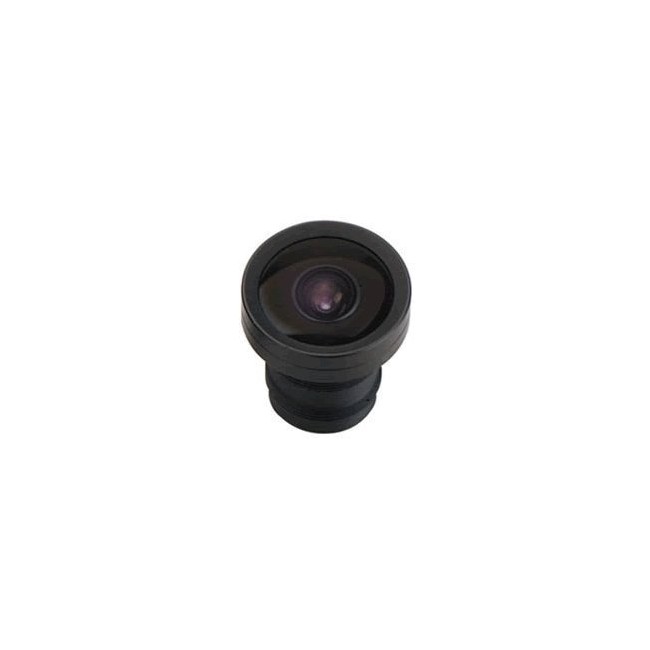
Kit Includes: (1) Lens (1) Rubber Grip Sleeve (1) Foam O-Ring to insert between the lens and camera
Disclaimer: Performing this lens change may damage your camera if you’re not extremely careful. Please follow these instructions very carefully as we will not be liable for any damages that occur during this procedure.
GoPro 2:
Using a small Phillips screwdriver, remove the screws located in the battery compartment. Carefully peel off the sticker inside the compartment. Now open the camera and take out the screws in corners near the circuit board.
Take off the front cover of the housing and heat it up close to the shaft around the lip to loosen the glue seal. This can be done with a hairdryer, a heat gun or something similar. This takes about 10-15 seconds of heating. Now put the front cover face down and push down on it, the lip facing down, until the lip pops out. You can either keep the lip off or reapply it after reinstalling your new lens; keeping the lip off allows you to macro focus with your camera.
Now apply heat in the same fashion to rest of camera and use pliers to remove the lens. Make sure to wrap heat shrink, black tape or something similar around the pliers. Don't get the pliers too close to the circuit board to avoid accidentally unwiring something.
To remove the lens, start by overtightening it - this will help to break the glue seal further - then go counter-clockwise to take it out. The HERO 2's shaft has on a lip on it as well - the threads don't start for about 4mm down and it could be cut off if that's what you'd like to do. You will have to do this to use the 2.8-12mm and 50mm lens.
Now take the new lens and apply the rubber band gasket (not all lenses come with this) - this creates a force that will hold your lens in place while threading and will not vibrate out of focus. Now put your new lens in the shaft. Reverse thread the lens a little to make sure it locks down and assure it's going straight and even to avoid crossthreading. Not much force is necessary when rethreading the lens clockwise.
When reassembling the camera, make sure the LCD read out is lined up with its respective square. When reapplying screws for the inside of the camera, we recommend you put two of them and tighten them a little bit, and then do the same for the other two, and then go back and tighten them all completely and evenly. This assures that the circuit board won't stay up higher on one side. Now put the screws back on the battery compartment, and your lens is installed and ready to use!
You can focus the lens by plugging it into your television using HDMI or AV composite video cables. When refocusing, it's best to focus on an object that 150 feet away from the camera. If you didn't put the lip back on the lens when reassembling the camera, use the included foam O-ring around the lens to protect the circuit board. If you did reapply the lip, use the included rubber grip sleeve, which will go down between the lens and the lip.
GoPro Original:
Before you get started: When you are removing the original wide angle stock GoPro HD lens you will need to do this in a well lighted area to keep track of the 7 screws and 2 buttons that can easily get lost.
First you need to activate the live video output function on the GoPro HD to a TV or monitor using the 2.5mm to 3 way red yellow and white cable (the yellow is for composite video) that came with your GoPro HD camera. You can also use the blue green red for HDMI out as well. This will allow you to properly focus the new lens.
Installation: Using the small Phillips screwdriver, remove the 7 screws located in the battery compartment, then 1 other screw located inside by the circuit board right next to the USB port. This will allow you to remove the front cover. Now use a hair dryer to heat up the shaft around the stock lens to loosen the glue seal that was originally put on there, takes about 10 - 15 seconds of heating, and will not harm the original lens. Apply a a drop of Goo Be Gone around the lens shaft, as this will help remove the glue grip. Insert the included rubber sleeve around the front metal ring around the lens and use pliers to grip it so it cannot scratch the original lens.
Tip: It’s best to over tighten the lens a little first to help break the glue seal then twist counter-clockwise to unthread the seal. It’s not that difficult and should come out very easy once the seal is broken.
Now carefully twist out the lens. After you remove the stock lens, carefully thread in the new lens evenly, as it should thread in very smooth with a little force needed, if you start to notice its off threading, or need to use maximum force to thread it in, then stop and twist it back out. It’s best to back thread it first, so it you can see it going in straight and even. You may also want to coat the new lens threads with Vaseline to aid it.
Do NOT force it in or you could ruin the threads in the camera shaft
Once you are threading it in evenly, then you can macro focus the lens by looking at the monitor with a battery inserted to power it on. Please be careful that the top function button & front function button do not get lost in the process.
Assemble the GoPro HD back together and use the foam O-ring that we include (depending on lens selection) so that it fits around the lens to hide the circuit board.